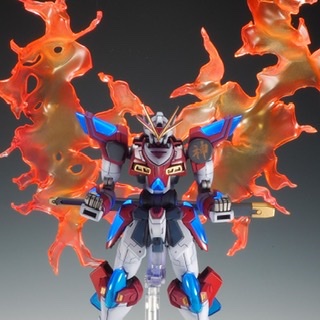
Remodeling HGBF [Ignition] Kamiki Burning Gundam: in action images, info
From the Modeler:
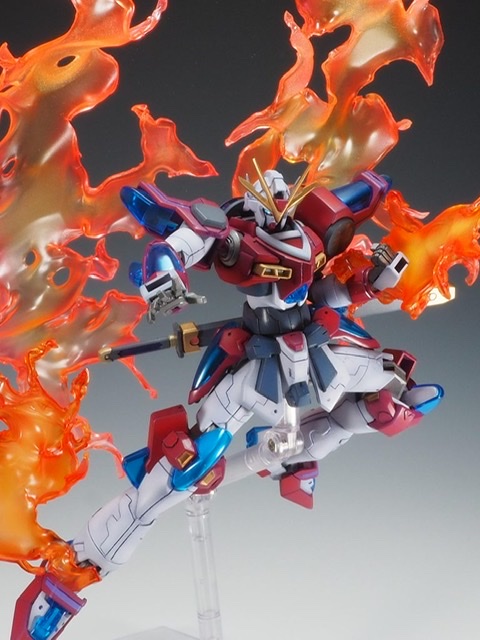
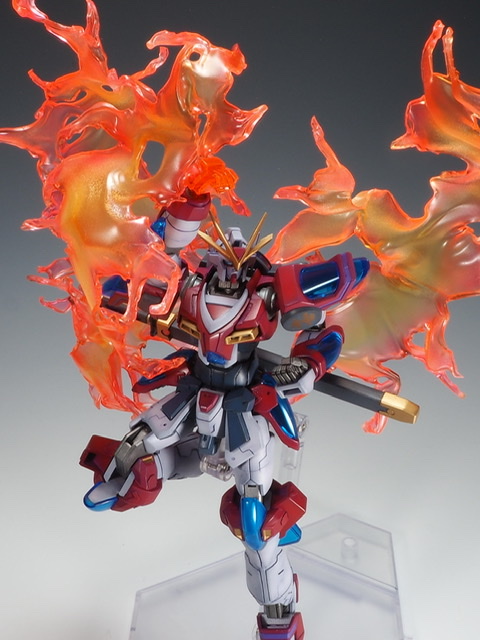
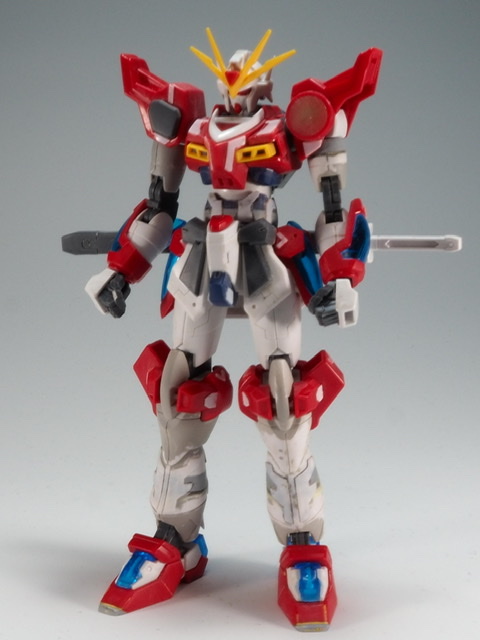
It was Kamiki Burning Gundam that I bought for the effect parts, but when I assembled it, I thought “Are? Cool …” and made it with my own effect parts.
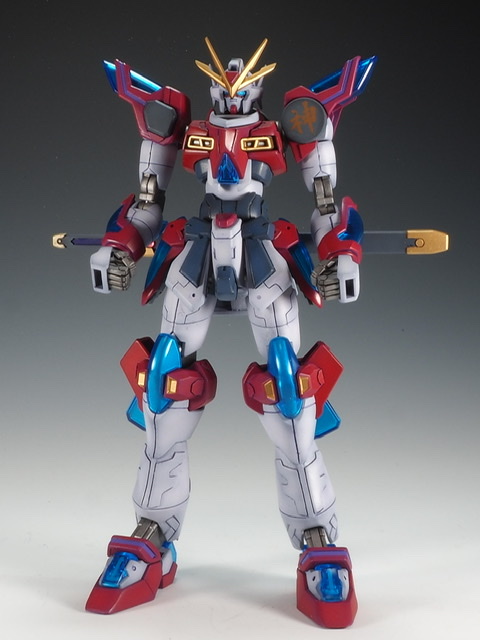
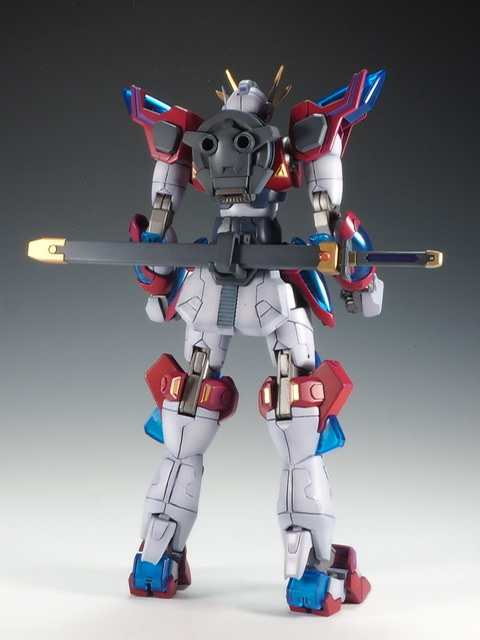
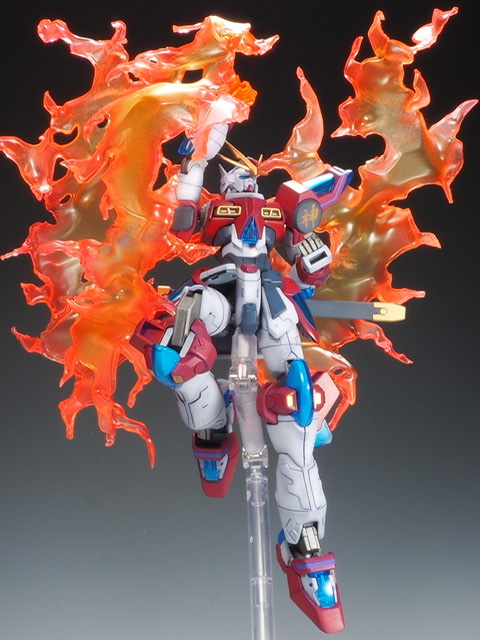
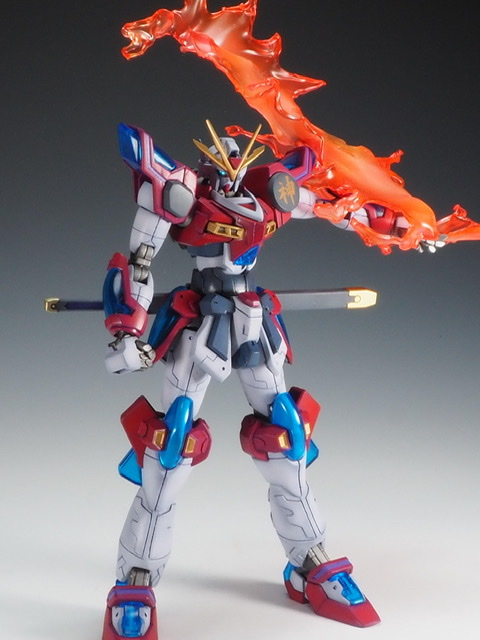
The main body has extended arms, hips, and legs. I tried to improve the details of each part with a plastic plate and streak carving. I wanted to use a commercially available decal for the god mark on the shoulder, so the area that can be filled with putty and pasted Is increasing.
As for the color, I tried to make it a calm coloring by toning purple as a whole.
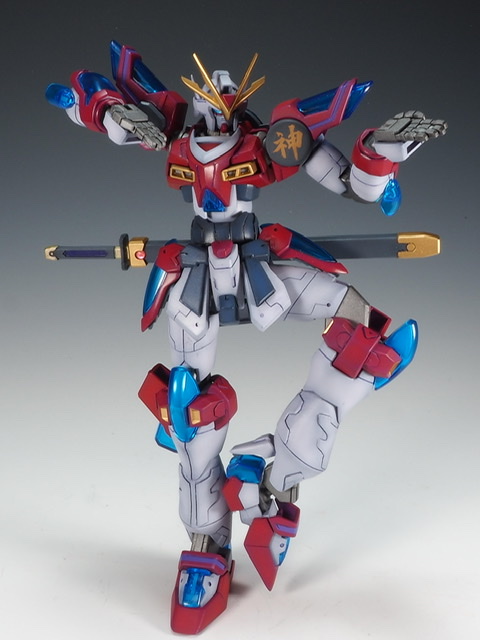
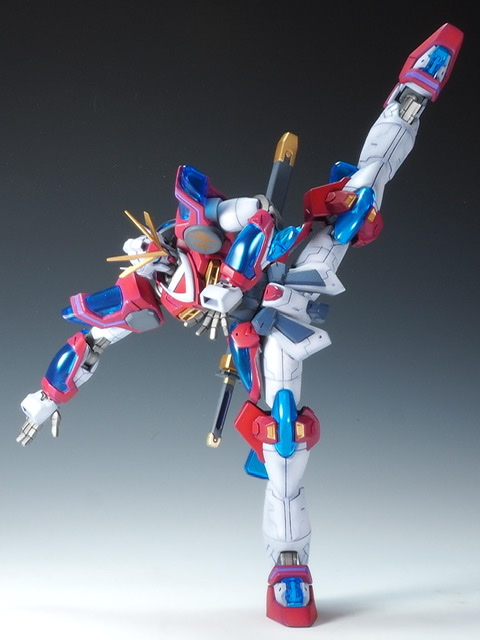
The undefeated stance of the school Toho! Since neodymium magnets are placed on the soles of the feet, the balance of standing on one foot can be managed.
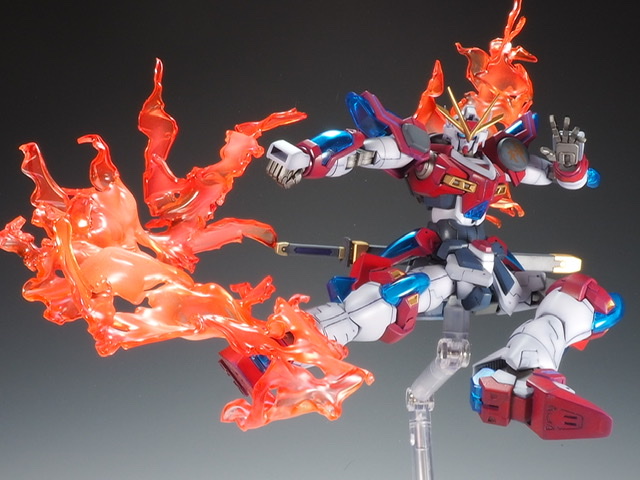
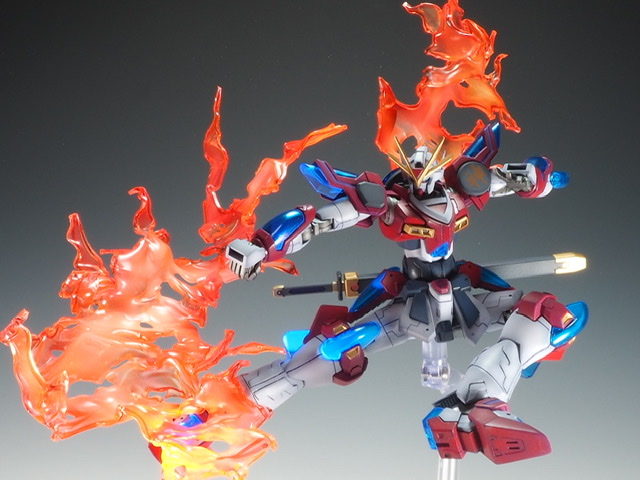
Since the kit has a high range of movement, I was able to pose dynamically and it was very fun to move
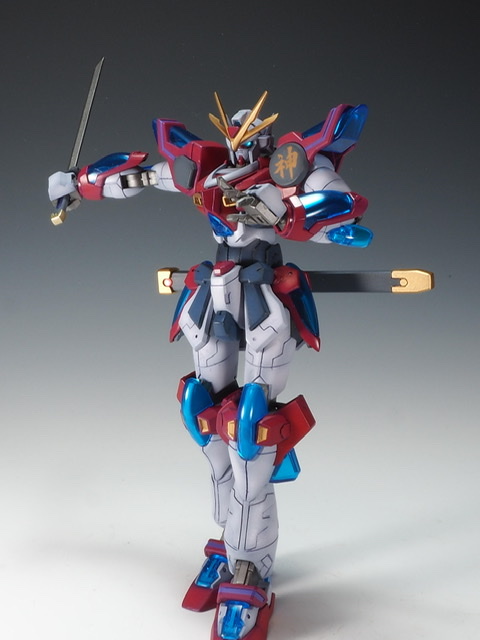
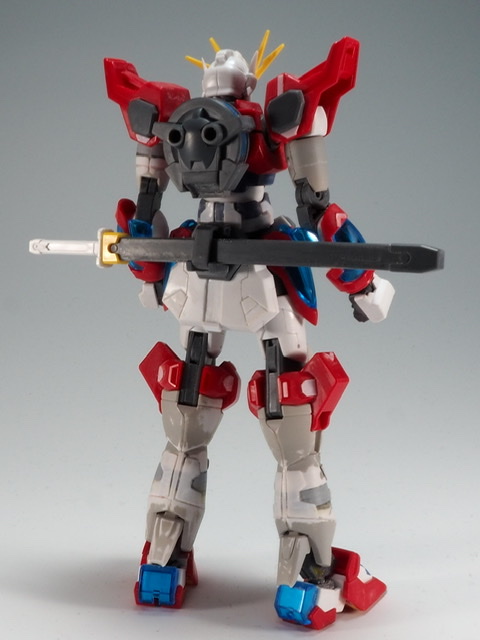
If you have a sword, you will look more like a ninja than a fighter
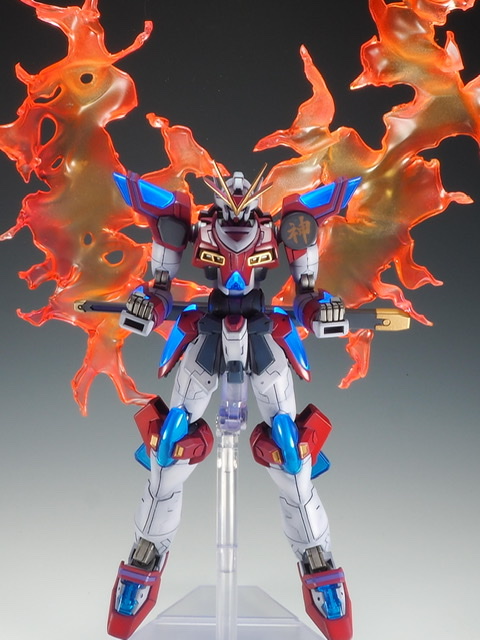
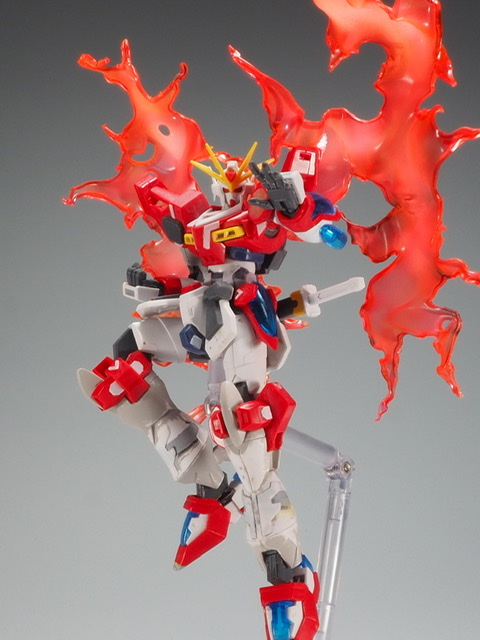
The effect parts are made by burning a 0.4mm transparent plastic plate with a candle. Fluorescent red is gradation-painted on top of clear yellow.
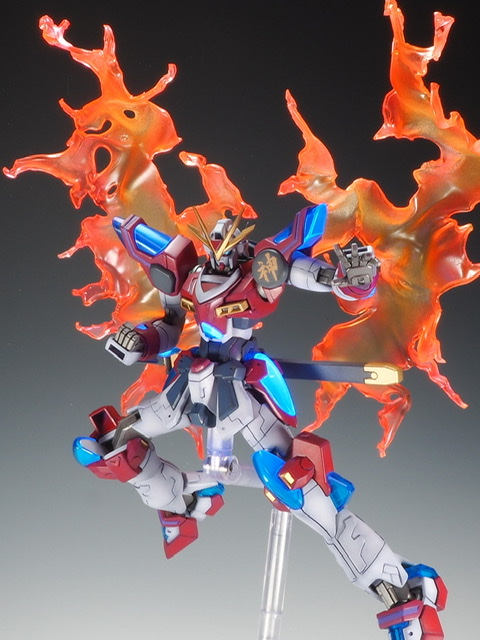
Noboru-Dragon-Fist!
Crafting with fire was fun and created various effects.
The effect parts are fixed so that they can be hooked in the joints and gaps between the parts. Since they are made according to the movement, they will not come off with a little vibration.
Since it is painted with fluorescent paint, it emits black light, but it is difficult to hit it overall
This is a photo of the production process. The arms and hips are 3mm, the legs are 4mm, and the toes are extended by 2mm.
Although not shown in this photo, the two under the blade antenna are shortened.
The effect parts I painted first were too reddish, so I repainted them.
I made my own effect parts by using fire, so I prepared water in the bucket and did it carefully, but there was a problem that fragments of the transparent plastic plate stuck in the sole of my foot…
Thank you for watching until the end.
Work by: komakuma
